How to Make Glow in the Dark Glitter Slime: A Step-by-Step Guide
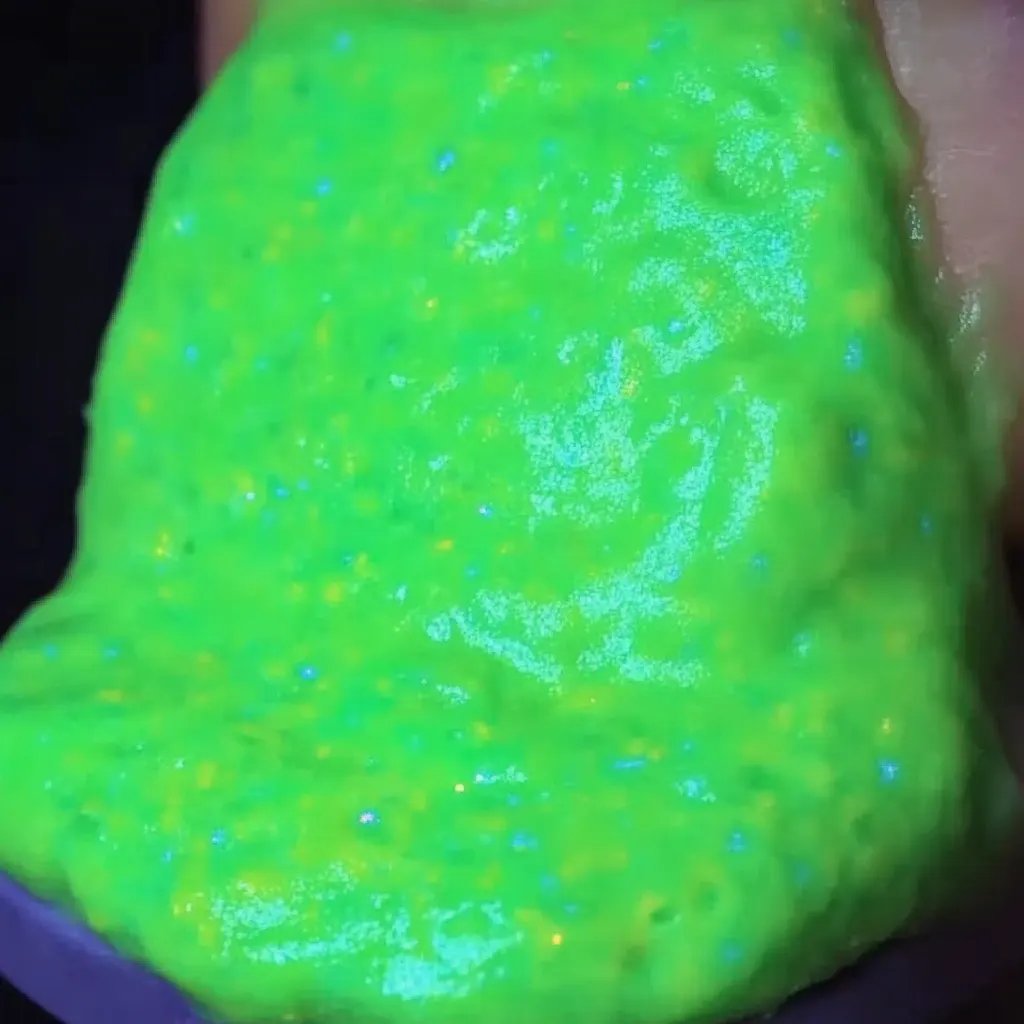
Hello fellow crafters! Today, I’m thrilled to dive into one of my favorite projects: creating Glow in the Dark Glitter Slime. This fun, squishy craft has taken the internet by storm and continues to be a favorite among kids and adults alike. It’s a fantastic way to engage your creativity, explore some science, and produce something that is not only visually stunning but also entertaining.
Whether you’re planning to use it for a themed party, a fun activity during a sleepover, or even as a stress-relief tool to squish in your hands, glow in the dark glitter slime has something for everyone. Plus, it’s incredibly simple to make with just a handful of materials you probably already have at home.
What You Need
Before we start, let’s gather our supplies. I’ve found that using quality materials can make a world of difference in the final product. Here’s my tried-and-true list:
Materials
- White School Glue (about 1 cup) – Traditional white school glue is great for slime because of its flexibility and stickiness.
- Baking Soda (1/2 teaspoon) – This helps to create the right texture and gives the slime its stretchiness.
- Contact Lens Solution (1-2 tablespoons) – This will activate the slime and give it the perfect consistency. Make sure it contains boric acid.
- Glow in the Dark Pigment Powder (1-2 tablespoons) – Look for a non-toxic powder to be safe when crafting.
- Glitter (1-2 tablespoons) – This adds the dazzling sparkle that makes your slime truly special.
- Food Coloring (optional) – For an extra pop of color—it can enhance your slime's appeal.
- Mixing Bowls and Spoons – I recommend using sturdy bowls, as the mixing can be a bit vigorous.
- Airtight Container – To store your slime—this helps keep it gooey and fun for as long as possible.
Safety Warnings
While making slime is generally safe fun, there are some precautionary measures you should keep in mind:
- Avoid eating any slime, as it may contain materials that are not food-safe.
- Supervise young children, particularly around small items like glitter or powders, which may pose a choking hazard.
Step-by-Step Tutorial
Now that we have everything ready, let’s get crafting! Follow these steps closely, and you’ll end up with a batch of amazing glow in the dark glitter slime.
Step 1: Prepare Your Base
First, pour 1 cup of white school glue into your mixing bowl. The glue serves as the base for the slime and will be responsible for its stretchy texture.
Tip: If you want to add food coloring, this is where you do it! A drop or two, stirred in well, will give your slime a vibrant hue.
Step 2: Mix in the Baking Soda
Next, add 1/2 teaspoon of baking soda to the glue. This ingredient is essential as it thickens the mixture—a crucial step that prevents you from ending up with a runny mess.
Potential Pitfall: If you skip this step, your slime might not hold together well. If you do forget, you can save the batch by mixing in a little more baking soda and working it thoroughly.
Step 3: Add the Glow in the Dark Pigment
Here comes the fun part—add 1-2 tablespoons of glow in the dark pigment powder! Mix it well into the glue mixture until it’s uniform. This is where the magic starts to happen!
Why It’s Important: The pigment is what makes your slime glow. So be careful—using too little will mean a dimly glowing slime, and using too much can lead to an overly thick mixture.
Step 4: Incorporate the Glitter
Stir in 1-2 tablespoons of glitter for that extra sparkle under the light. The more glitter, the more fun your slime will look both in light and in the dark!
Tip: Mix varying types of glitter. For example, you can mix fine glitter with larger chunky glitter for texture.
Step 5: Activate the Slime
Slowly add 1-2 tablespoons of contact lens solution to the mixture while stirring. This is the "activation" process where the slime really begins to form. You’ll notice it start pulling away from the bowl.
What Could Go Wrong: If the slime is still too sticky after a few tablespoons, add a small amount more contact solution. But proceed with caution, as too much will make it tough!
Step 6: Knead the Slime
Once the mixture is cohesive, take it out of the bowl and begin kneading it with your hands. It might feel sticky at first, but keep kneading! This process will help develop the final texture.
Pro Tip: If the slime remains sticky, you can knead in a little more baking soda just until it achieves the desired texture.
Step 7: Store Your Slime
Once you have your perfectly gooey glow in the dark glitter slime, it’s time to preserve it! Place it in an airtight container when you’re done playing. Proper storage will keep it fresh for weeks.
Creative Variations
Now that you've mastered the basic recipe, let me share some creative variations that I enjoy.
- Scented Slime: Add a few drops of essential oils (like lavender or vanilla) to the glue for a lovely aroma.
- Themed Slime: For festive occasions, adapt the color and glitter to fit the season, like using orange and black for Halloween or pastels for Easter.
- Textured Slime: Add foam beads, sponges, or even small plastic figurines for a uniquely textured experience.
Personal Anecdotes and Final Thoughts
I remember the first time I made glow in the dark glitter slime with my niece. We stayed up late, giggling as we watched our creations shimmer under the blacklight. It was a moment filled with joy, and now, it’s a cherished memory that I revisit every time I craft slime.
So, my fellow crafters, don’t hesitate to give this project a try, regardless of your skill level! You’ll find that slime-making is an incredibly rewarding process that fosters creativity and connection. Remember to experiment, have fun, and most importantly, let your imagination shine just as brightly as your glowing slime!
Happy crafting, everyone! 🌟